DIY SERIES: HOW TO INSTALL LEVEL PAVERS AND PATIO STONES
Installing pavers is like building a giant puzzle, but with an extra twist in the third dimension: those pavers have to be level! Whether you want to build a simple pathway or a large patio in the middle of your yard, the fundamentals of laying pavers are the same, and you can totally do it yourself! These are the basic steps you'll need for a successful project, and if you need any help beyond this, you can always reach out to Dammann's Garden Company for help!
Gather Supplies for Your Layers
Before laying down stone, you'll need to build a gravel and sand foundation. These layers help create a level base and will prolong the life of your pavers! You'll want to gather supplies for:
a layer of gravel paver base
a layer of sand
your pavers or patio stones of choice
polymeric/jointing sand in the joints between the pavers
a coating or seal to secure the patio stones or pavers
Once you have all of your supplies ready to go, you can get started!
How to Prepare Your Path or Patio Site
To make your pathway level with the ground, you'll have to dig a bit and create a level foundation. Here's how:
1. Mark out your path with stakes and string. This outline will give you a reference point as you work and a visual representation of how the path will flow in the landscape before you start.
2. Dig up the path area so you can start installing your layers. Using a shovel, dig up 3-4 inches for the gravel and sand layers, plus the depth of your pavers. If you're adding edging around your path, excavate beyond the border you created in the previous step by a couple of inches.
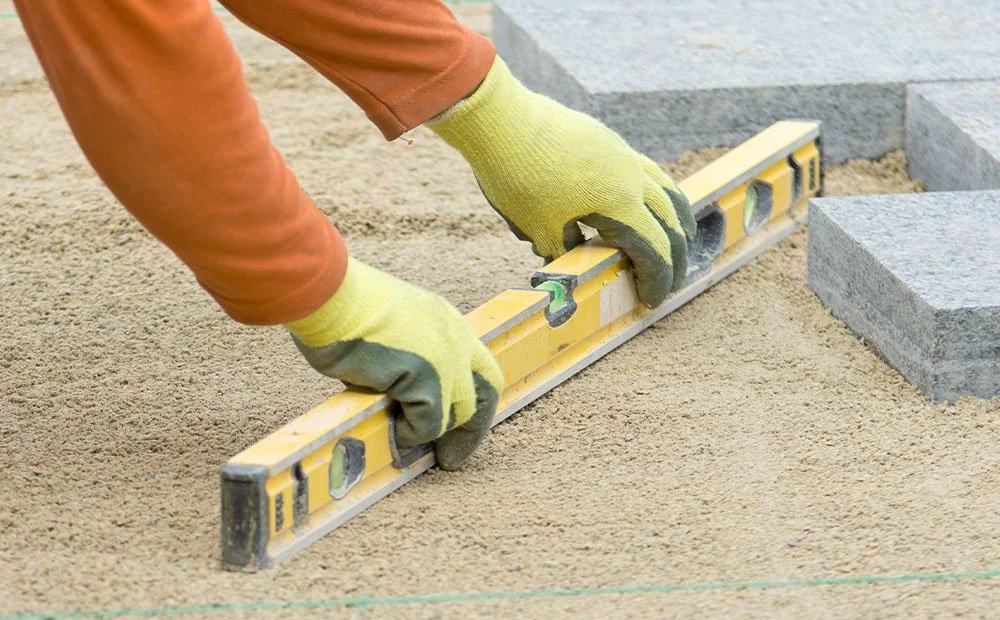
3. Level and pack down the excavated area. Using a hand tamper and a carpenter's level, carefully level each section of soil. If you're building a larger patio, ensure there is a slight slope that follows the slope of your yard so that you don't get any pooling water in the middle!
4. Add your gravel base and 1–2 inches of sand. After laying down each layer, level them again so that your pavers are level when you lay them down.
How To Install Paving Stones
Now that you have a good foundation, you can start laying your paving stones.
1. Start by laying paving stones on the longest straight side of your space. Be careful not to walk on your level sand! Check the pavers as you go to ensure they are level from the start and adjust by pressing them into the sand.
2. Cut pavers or patio stones as necessary to fit into your design. Use a masonry saw to get clean cuts after taking measurements or marking your stones. You can keep any leftover pieces to fill in any gaps later!
3. Use a plate compactor to pack down your paving stones. Once the pavers or patio stones are correctly situated, repeat this process three times to ensure they are snug in the sand. Be sure to use a protective covering, such as a thick towel or sack, over your plate compactor to avoid scuffing.
4. Sweep sand into the joints. After compacting, use a broom to sweep sand in many different directions into the joints of your pavers or patio stones; this provides lateral stability so that they don't shift when you walk on them.
5. Seal your pavers. The pavers will be more durable and require less maintenance with an appropriate sealing product. Remember to clean the pavers before sealing them so that it adheres properly.
Patio Design Ideas: The Final Touch
Your patio design will look a little plain if you don't add any accents! Try some of these ideas to elevate your design:
Decorate the edges of your pathway or your patio with raised garden beds, container plants, and shrubs for a pop of texture and color. Some of our favorites include peonies and butterfly bushes.
Dress up your space with garden décor items such as bird feeders, wind chimes, and fountains.
Add outdoor heating and cooling to enjoy your space all year—not just in the summer. You can even build your own DIY fire pit for a relaxing social space!
Visit us at Dammann’s Garden Company in Indianapolis for help building your DIY paver patio and any other landscaping projects! We’re happy to help you get started.


