DIY SERIES: HOW TO BUILD A RAISED GARDEN BED IN 6 STEPS
Raised garden beds are an excellent way to grow healthy plants and delicious crops. You control the contents of the soil that goes in, it thaws faster following the winter freeze, and it’s harder for rabbits and pests to reach. The best part is that they are extremely straightforward to build yourself!
Follow These Step-by-Step Plans for Building A DIY Raised Garden Bed
Luckily, a simple rectangular box is the most basic thing you can build, though it might be wise to get a friend to help you during the actual assembly. Here’s how you can build one yourself!
Step 1: Plan the Dimensions of Your Raised Garden Bed
Examine the dimensions of the area where you want to install your DIY garden box, then plan out the length of all your wood pieces. Draw out your plans on paper and mark the measurements for all the pieces you’ll use, and your garden box’s finished dimensions once assembled. Note the length, width, and height of each component and the overall structure.
A basic garden bed needs two sets of sides of the same length. If you’re making a square garden box, they’ll all be the same length, but most raised garden beds tend to be rectangular.
Some raised garden beds have thicker posts in every corner, adding stability and making it a little more stylish. Large garden beds will benefit from upright posts through the center of each side—again, better stability.
Adding a wider wooden “trim” all around the top edge of your garden bed can make it look a little less shabby and a little more chic. On larger, thicker garden beds, you can use that wide brim like a bench to kneel on while you work!
Step 2: Cut Your Wood
Work carefully and wear protective eyewear if you’re cutting wood with a saw. If you don’t have your own saw, you can get your wood cut at the hardware store. Just bring in a list of the number of pieces you need and their size dimensions, and the staff can take care of it for you.
What Kind of Wood Do You Use for Raised Beds?
Look for wood pieces 1–2 inches thick and use wood that isn’t chemically treated for your raised garden bed; this prevents harmful chemicals from leaching into the soil. Rot-resistant wood, like cedar, is a great choice because it will help your raised garden bed last much longer. If you’ve chosen a wood that isn’t rot-resistant, you can line the walls with a heavy plastic liner, using a staple gun to secure it all around the inside.
Step 3: Drill Pilot Holes
To prevent your boards from splitting and keep your screws straight, add some “pilot holes” in all the spots where you intend to add a screw. You’ll need to use a drill bit that is narrower than the screws but don’t use one that’s super skinny.
Make a hole that’s the same depth as the length of your screw. Ideally, you want to remove as much wood as possible while leaving enough wood around the edge for the threads of the screw to slice through.
Step 4: Assemble Your Raised Bed and Add Your Screws
We recommend having someone help hold your boards in place for this step! Make sure those right angles are perfect as you drill your bed into place, starting from the bottom layer of boards and ending at the top. Measure and double-check everything as you go to make sure you’re on the right track and can make adjustments if needed.
Step 5: Make It Level
Take a step back and assess how your raised garden bed is sitting. Does it look level with the ground, or is it crooked? If it’s looking a bit wonky or the terrain is uneven, you can dig down into the grass and use a rubber mallet to drive the wood into the ground.
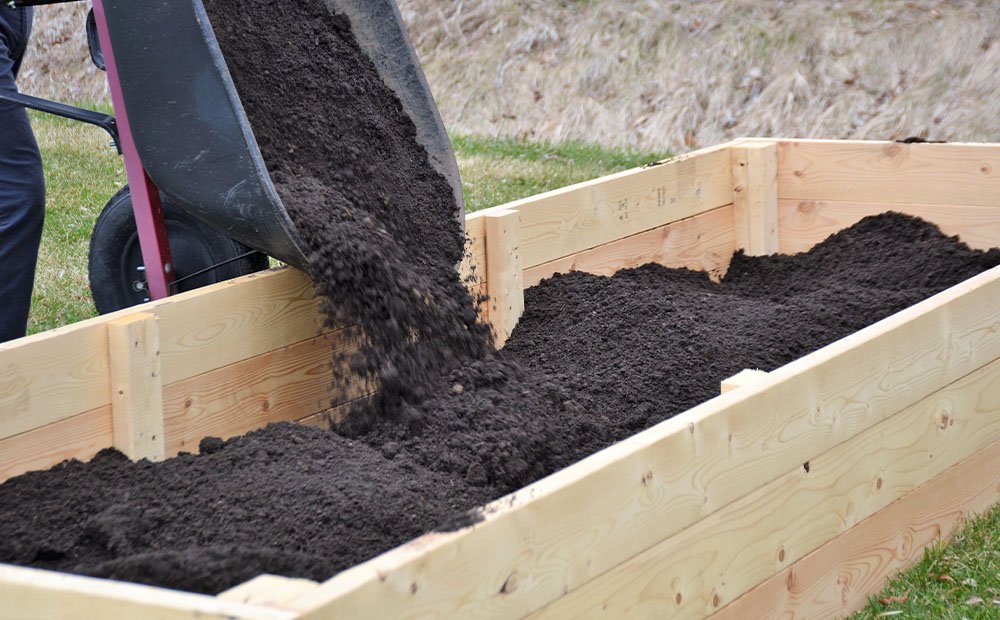
Step 6: Add Your Soil
You’ll need a lot of soil and compost to fill your raised garden bed. To get an idea of how much you’ll need, refer to your original plans for your raised garden bed! Multiply length x width x depth: that’s how much square footage you’ll need to fill.
Once you’ve built your DIY raised garden bed in Indianapolis, Dammann’s Garden Company has everything you need to start planting! Soil, compost, plants, pest control, and more—it’s all here at our garden center.


